Seaming
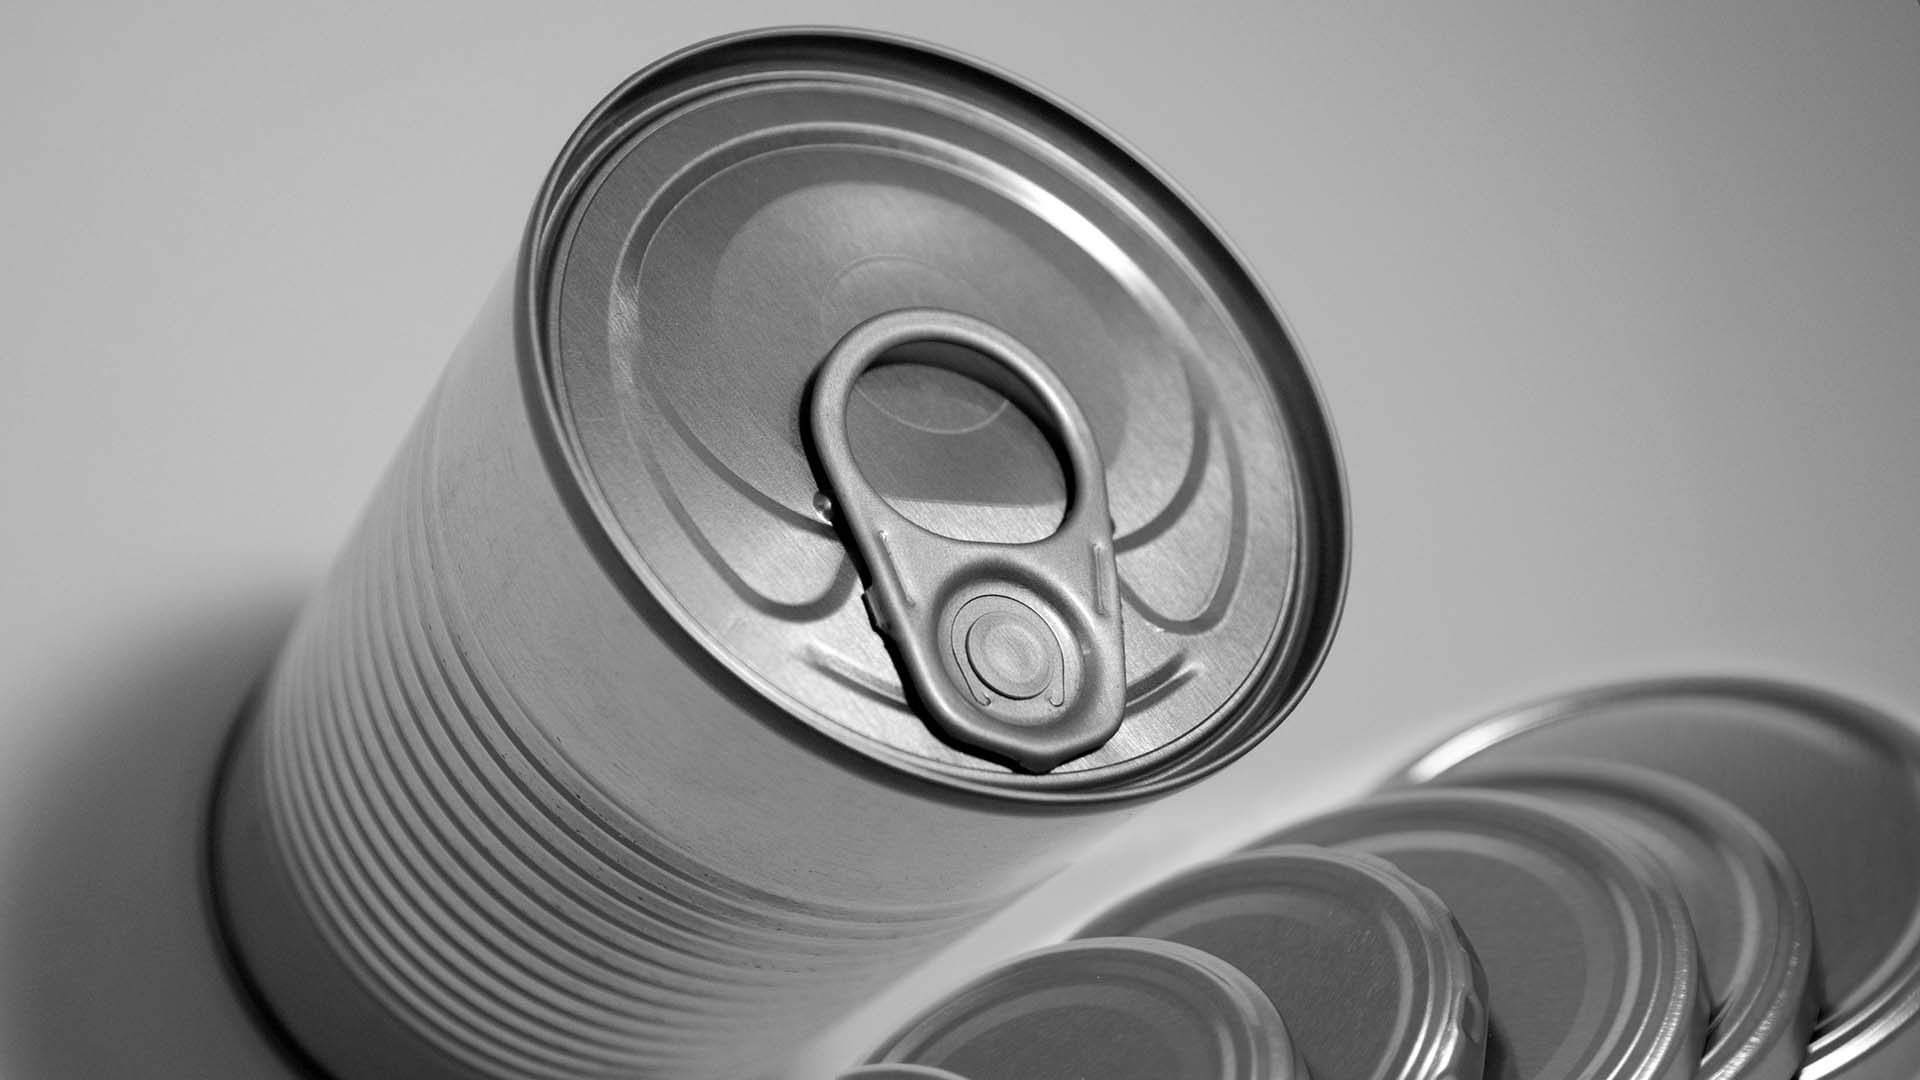
The double seam, found today on virtually all food and beverage cans, is a simple and proven way to provide such a hermetic seal. However, while the end goal is simple, the process can still appear very complex, particularly to brands who are new to the industry or to working with metal food packaging.
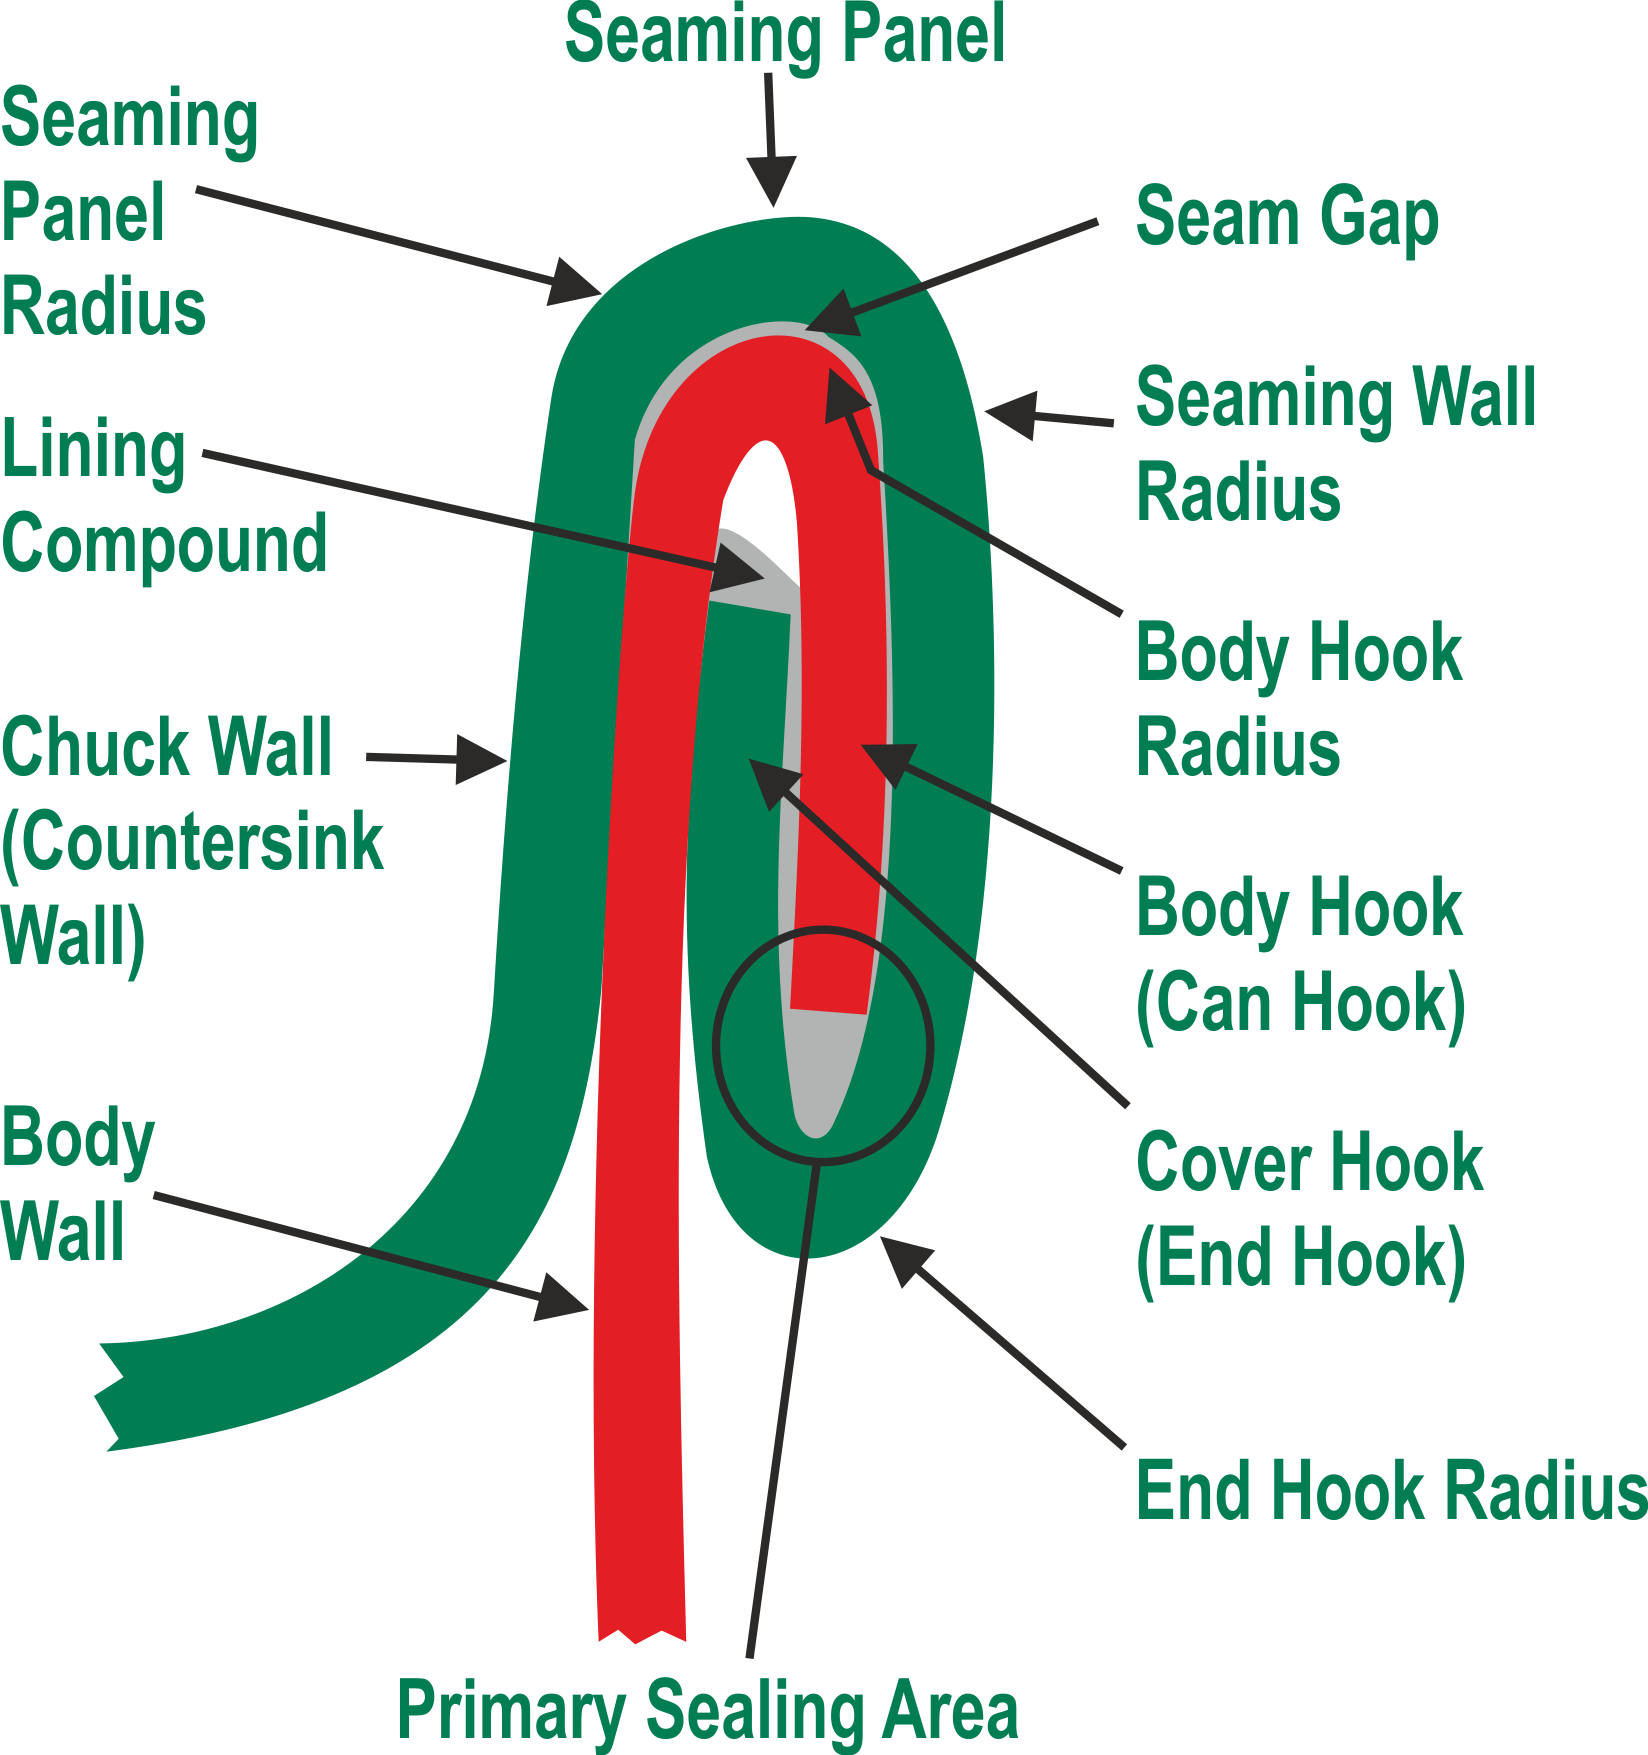
The formation of a double seam results from two sequential operations that have a dependent relationship with the aim of joining an end, or lid, to a can body in such a way as to produce the hermetic seal. Once the can end has been placed onto the can (called the make-up point), the first operation seam begins the seaming process by gradually curling the outside curled edge of the end, under the can flange, whilst also curling the can flange downwards at the same time. The second operation finishes this process off by fully compacting the seam and all the included layers of metal together to create the hermetic seal. The ends are supplied with a thin layer of gasket material, which fills any voids created within the seam to make it truly gas-tight.
Getting the Best Results
The world of double seaming may seem complicated, but a few key tips will lend you a better sense of how to achieve a fault-free seal.
Tip #1: Understand the terminology of double seaming
A double seam creates a hermetic seal by interlocking the edges (flanges) both of the cover (lid or end) and body of the can. The body hook, which is also commonly known as the can hook, is the flange of the can body that is curled downward in the formation of the double seam. The cover hook, also called the end hook, is the curled edge of the cover that is curled inward after the end is formed.
Once you are familiar with the basic terms, you can explore the inner workings of the two operations. The initial step in the formation of a double seam, occurs when the c-shaped profile of the seam roll is driven into the cover hook causing it to be partially rolled up and under the flange of the can body. A suitable seaming chuck is used in conjunction with the seaming rolls, which acts as both a clamp to hold the cover in place during seaming, and as an anvil to support the cover as the seaming roll pushes against it to form the metal. The second operation is the final step in the formation of a double seam. During this process, the seam is further compressed and flattened against the side of the can body, resulting in a gas-tight seal. The results of the second operation are determined in the first operation. It is not possible to correct errors in the first operation by adjusting the second operation.
Tip #2: Recognize the importance of the first operation seam
The importance of the first operation seam is frequently overlooked as it is difficult to access in most automated seamers, often requiring parts to be removed to stop the second operation being carried out. If, however, the first operation is not properly executed, it will be almost impossible to achieve a successful double seam. A fact to consider is that the first operation seam controls proper formation of the cover hook, which consequently controls the formation of the body hook as well as the depth of the countersink. A helpful tip is to closely follow the can manufacturer’s standards for determining suitable tolerances for flange and end thicknesses, can diameter, countersink and tooling profiles.
Tip #3: Check the first operation
If you are experiencing trouble with the first operation, you’ll need to carefully examine the seam according to the following guidelines. (Note: As a precaution, be sure that the second operation seam is backed off or changed to the off-seam position prior to inspecting the first operation). Appropriate times to check the first operation seam are during the initial set-up of a seamer, while installing new seaming rolls and during the re-adjustment.
Tip #4: Evaluate the second operation seam.
After installing or correcting the first operation seaming rolls, which will determine the correct formation between the can and the cover, you can move on to optimizing the second operation of the seam.